How to Publish a New Blog entry
What is a BLOG? A BLOG is a popularized short name for a WEB LOG. When something is titled as a BLOG, it indicates that it is a section on a webpage that focuses on a particular topic containing written information, business information, or personal thoughts on that topic. They are usually very interactive containing lots of regularly published content by the author for interested readers and a comments section. It is also possible to post VLOG versions that are VIDEO LOG versions of an original BLOG or stand alone video logs. Publishing a blog using Squarespace is thankfully very straightforward and easy to do. Below we have a step by step guide to help you to publish your new blog entries using Squarespace.
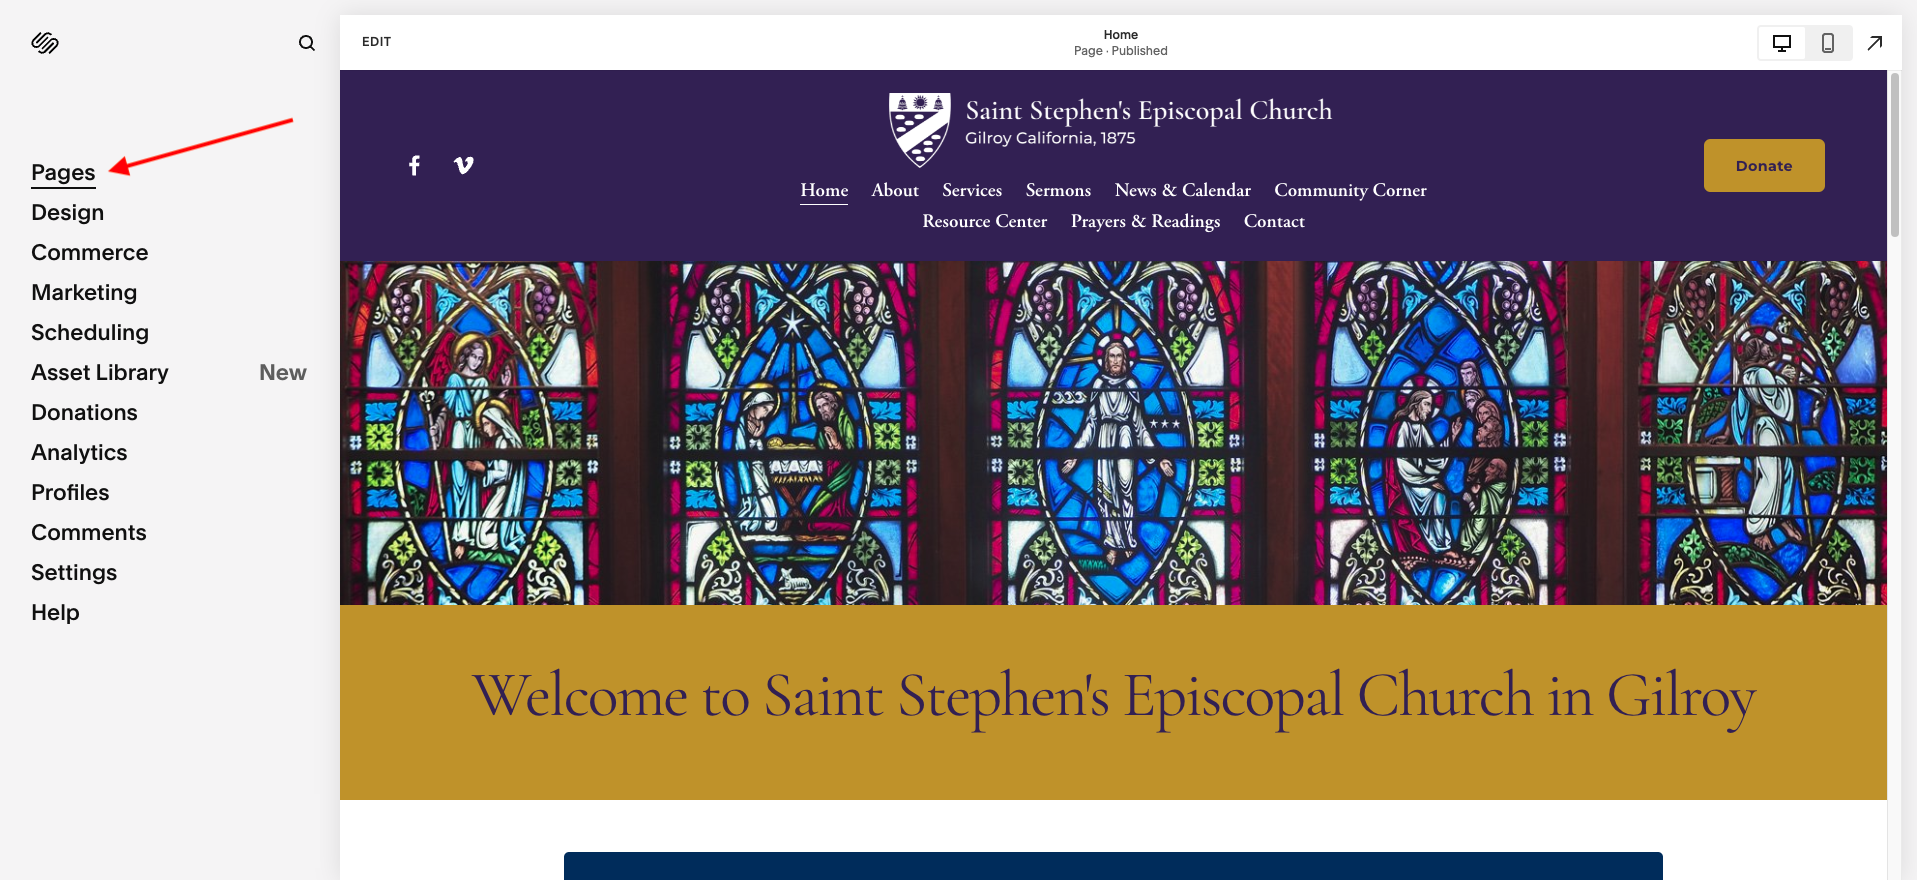
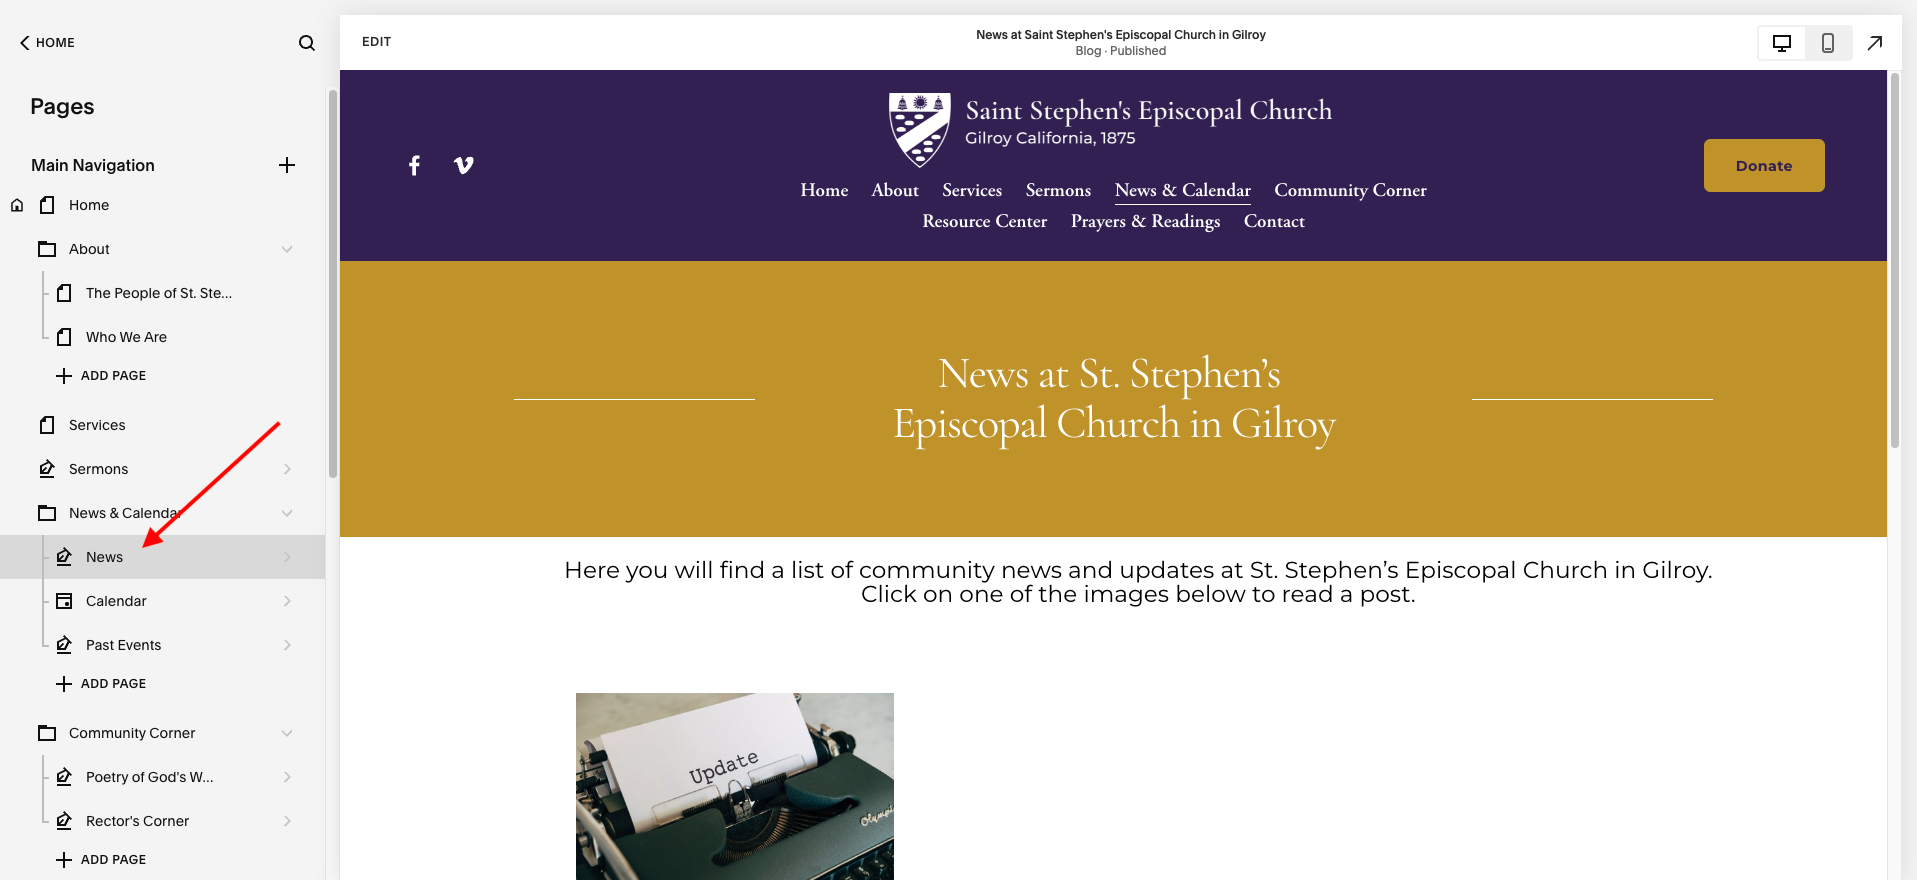
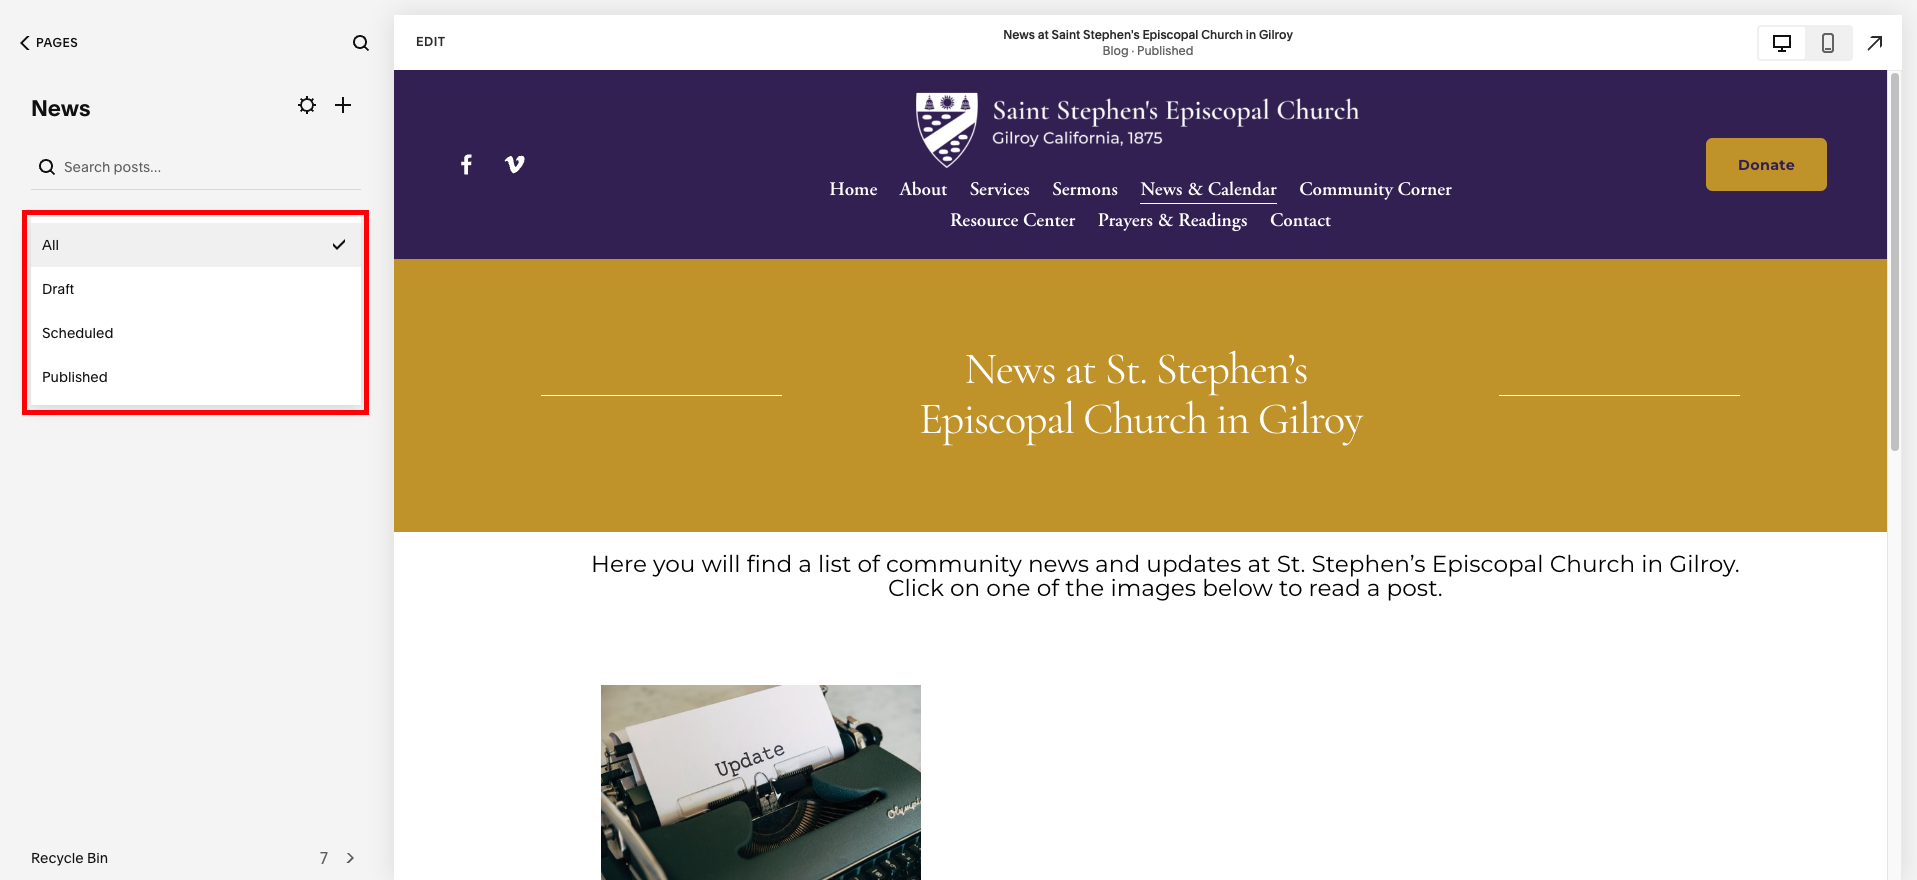
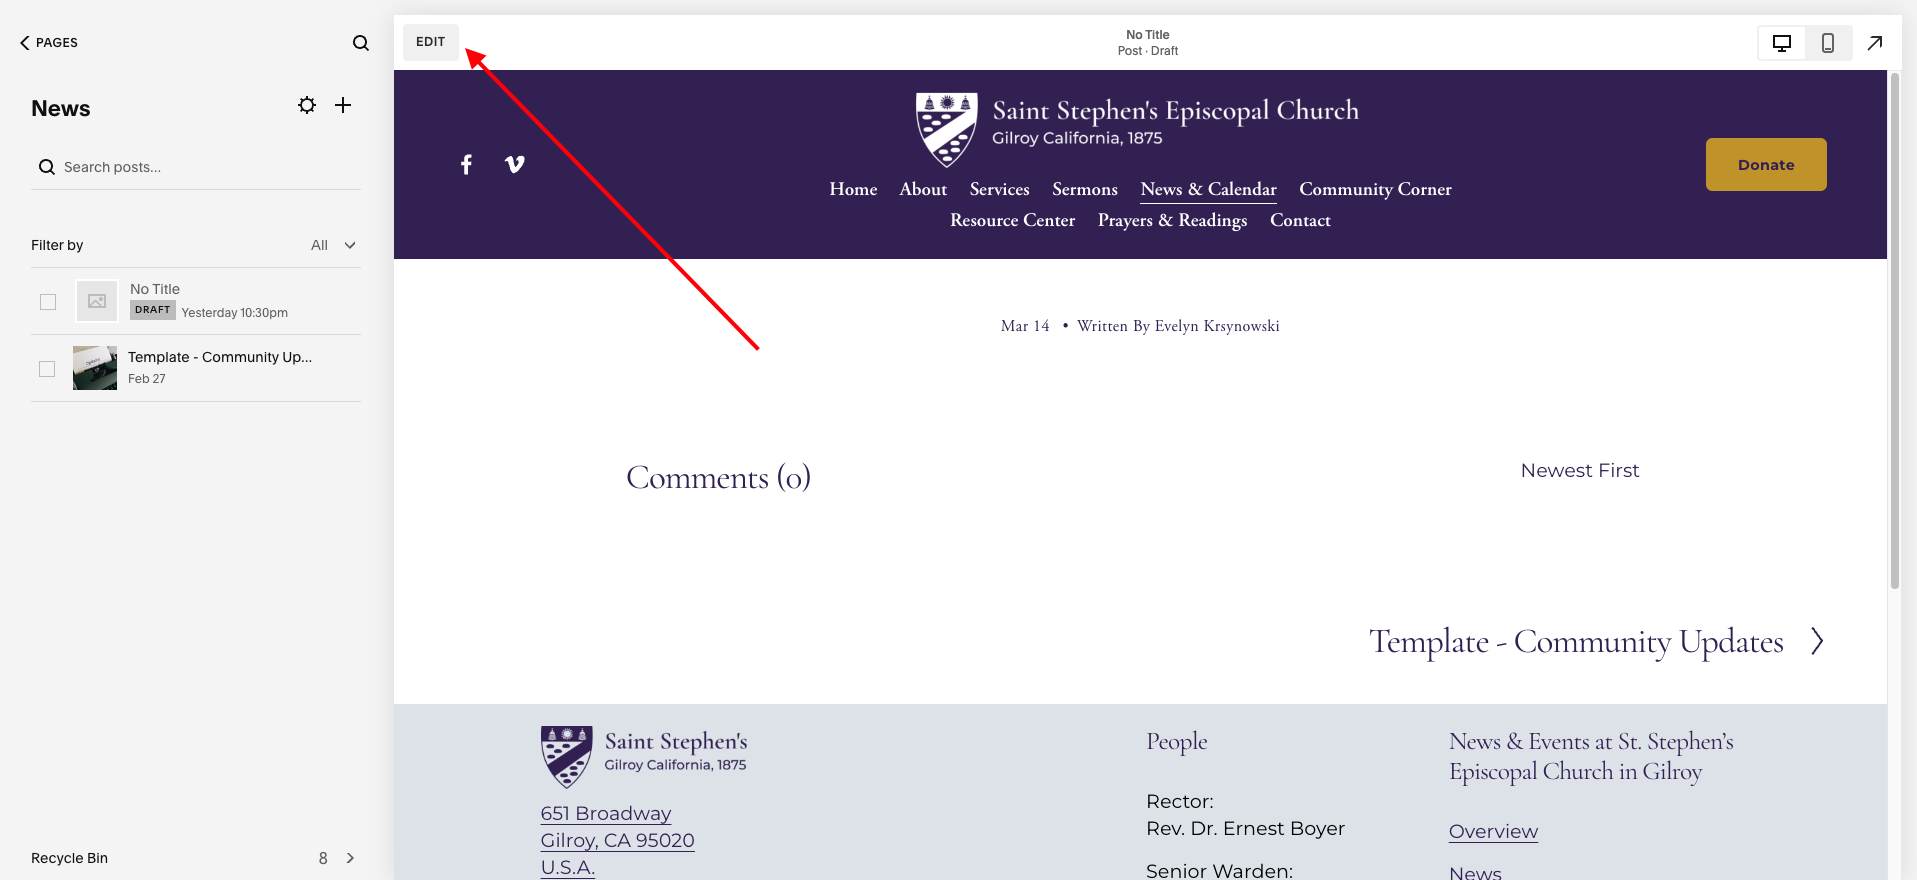
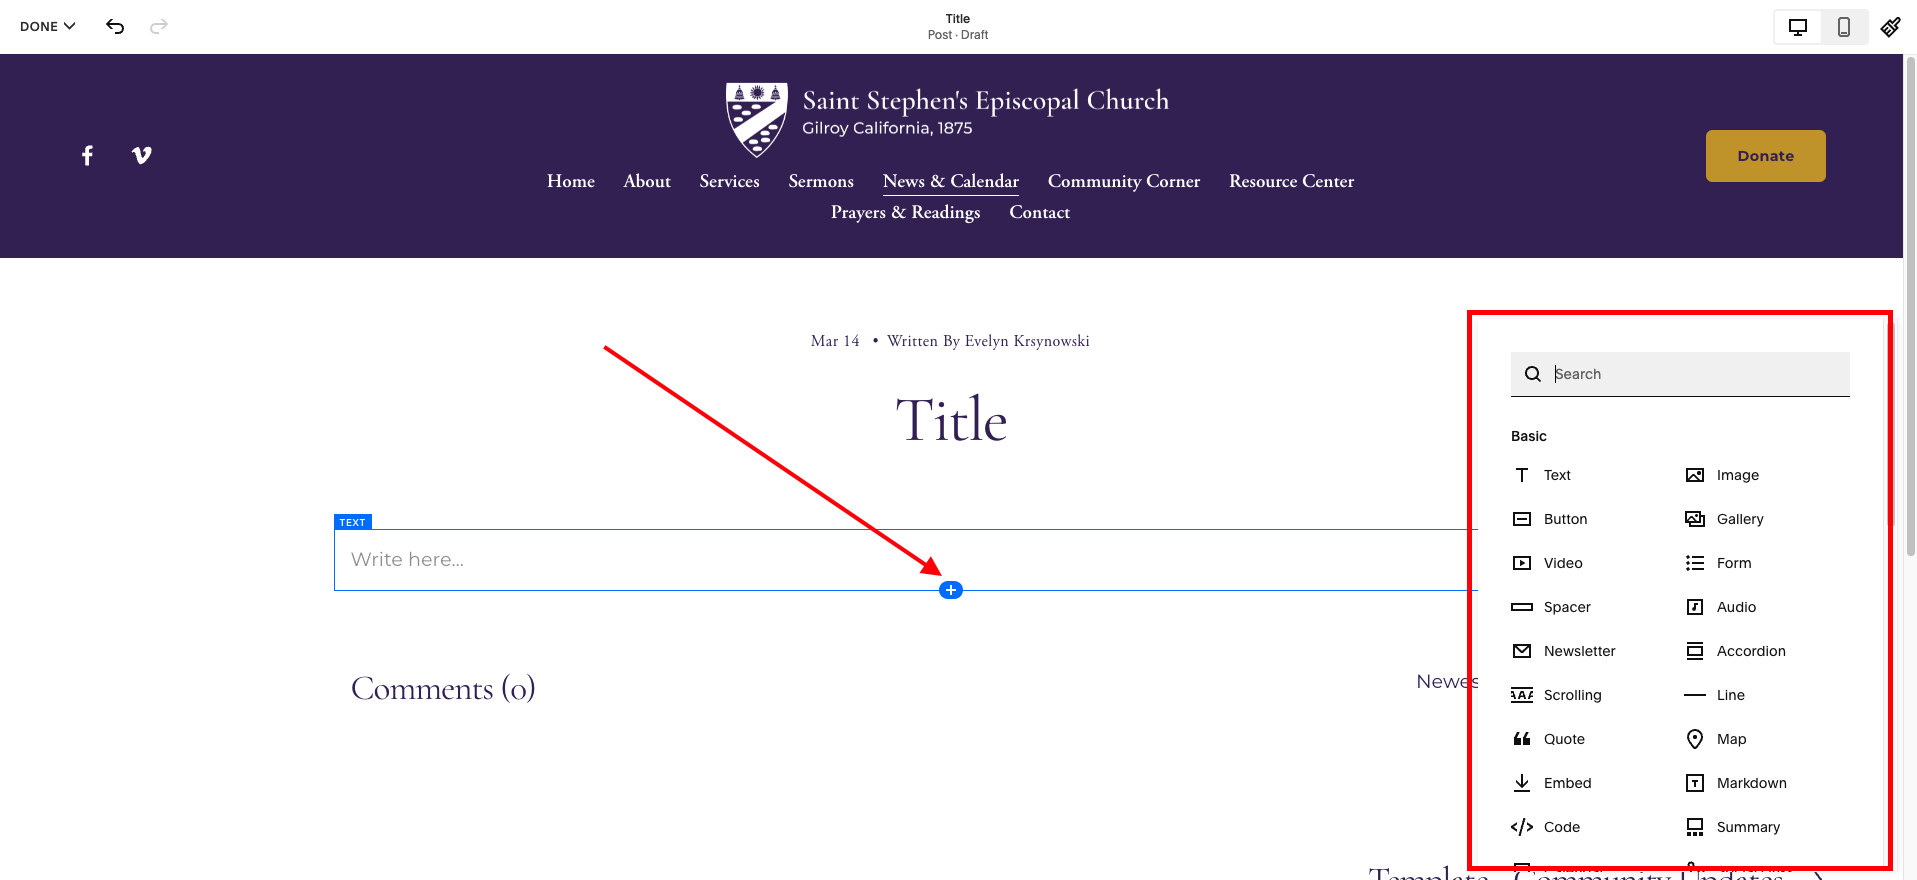
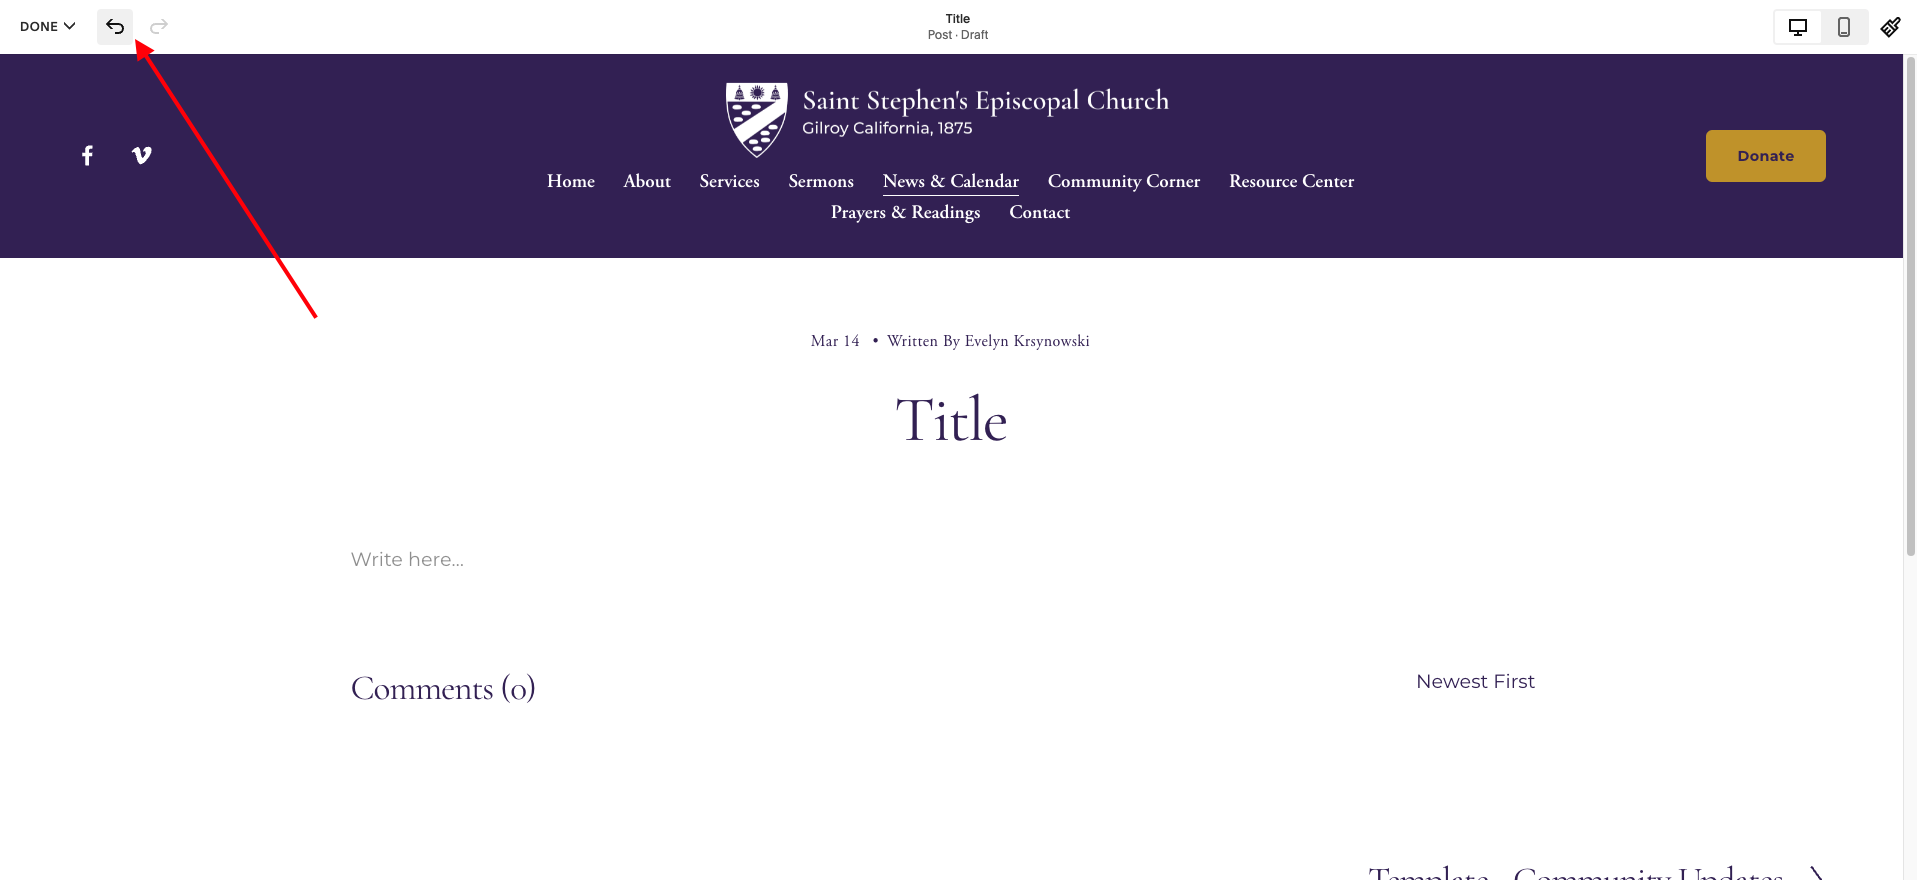
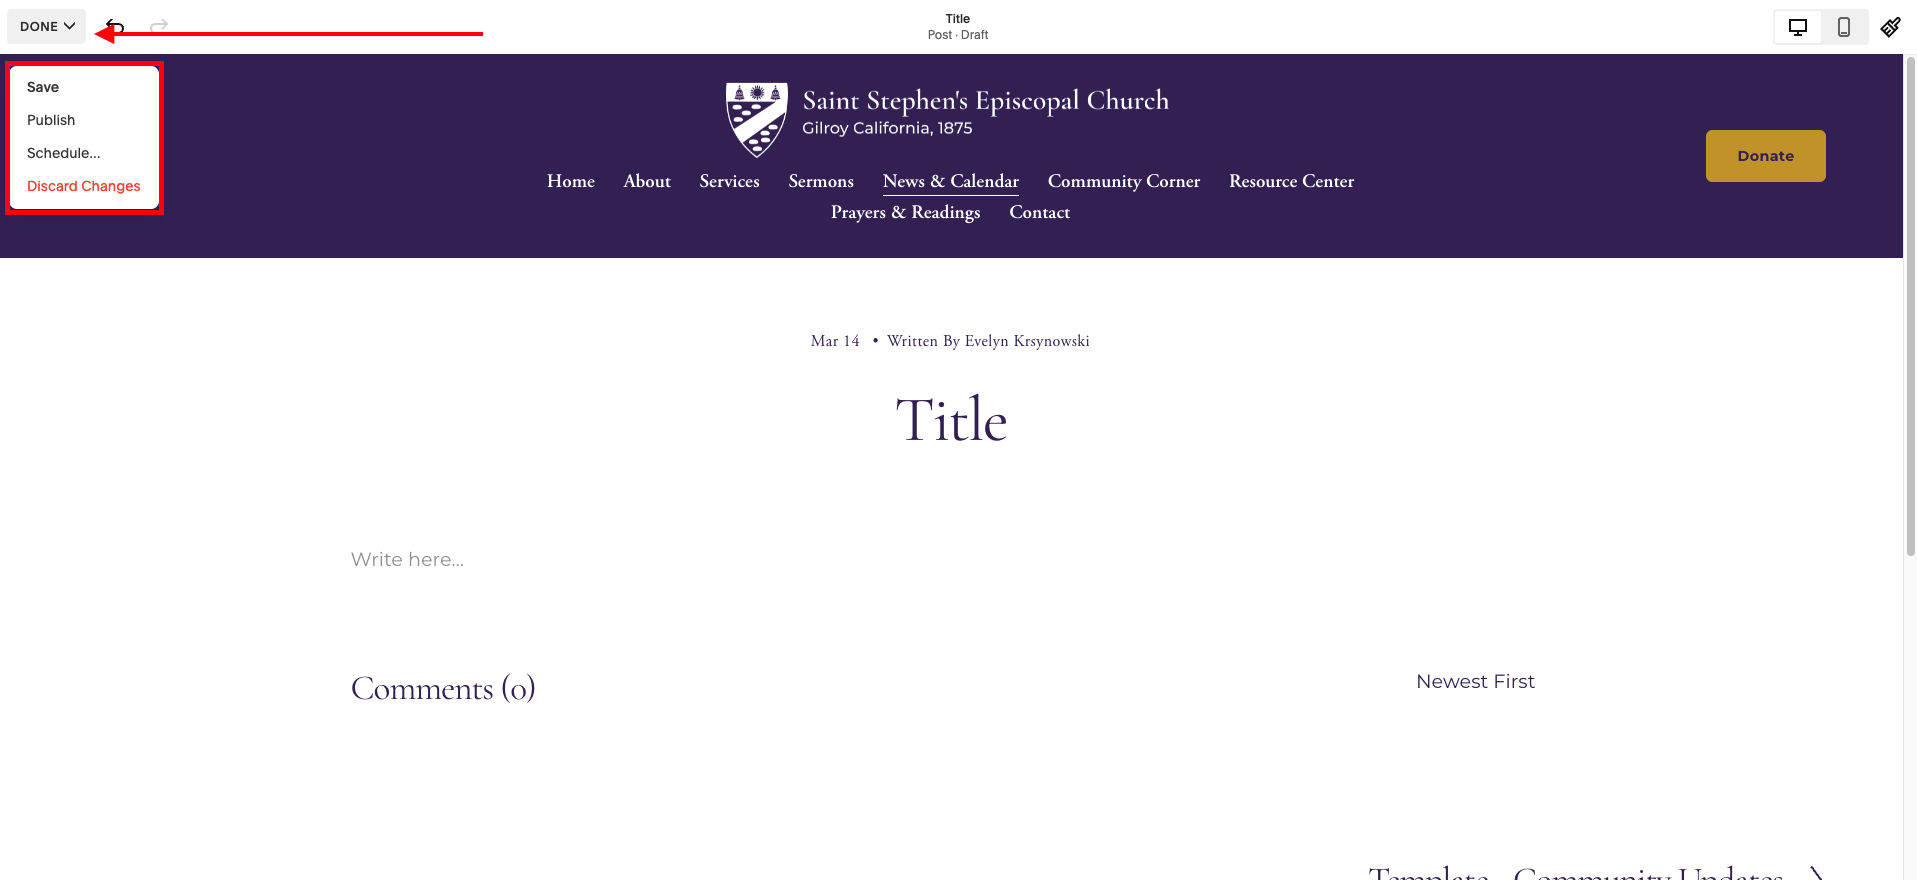
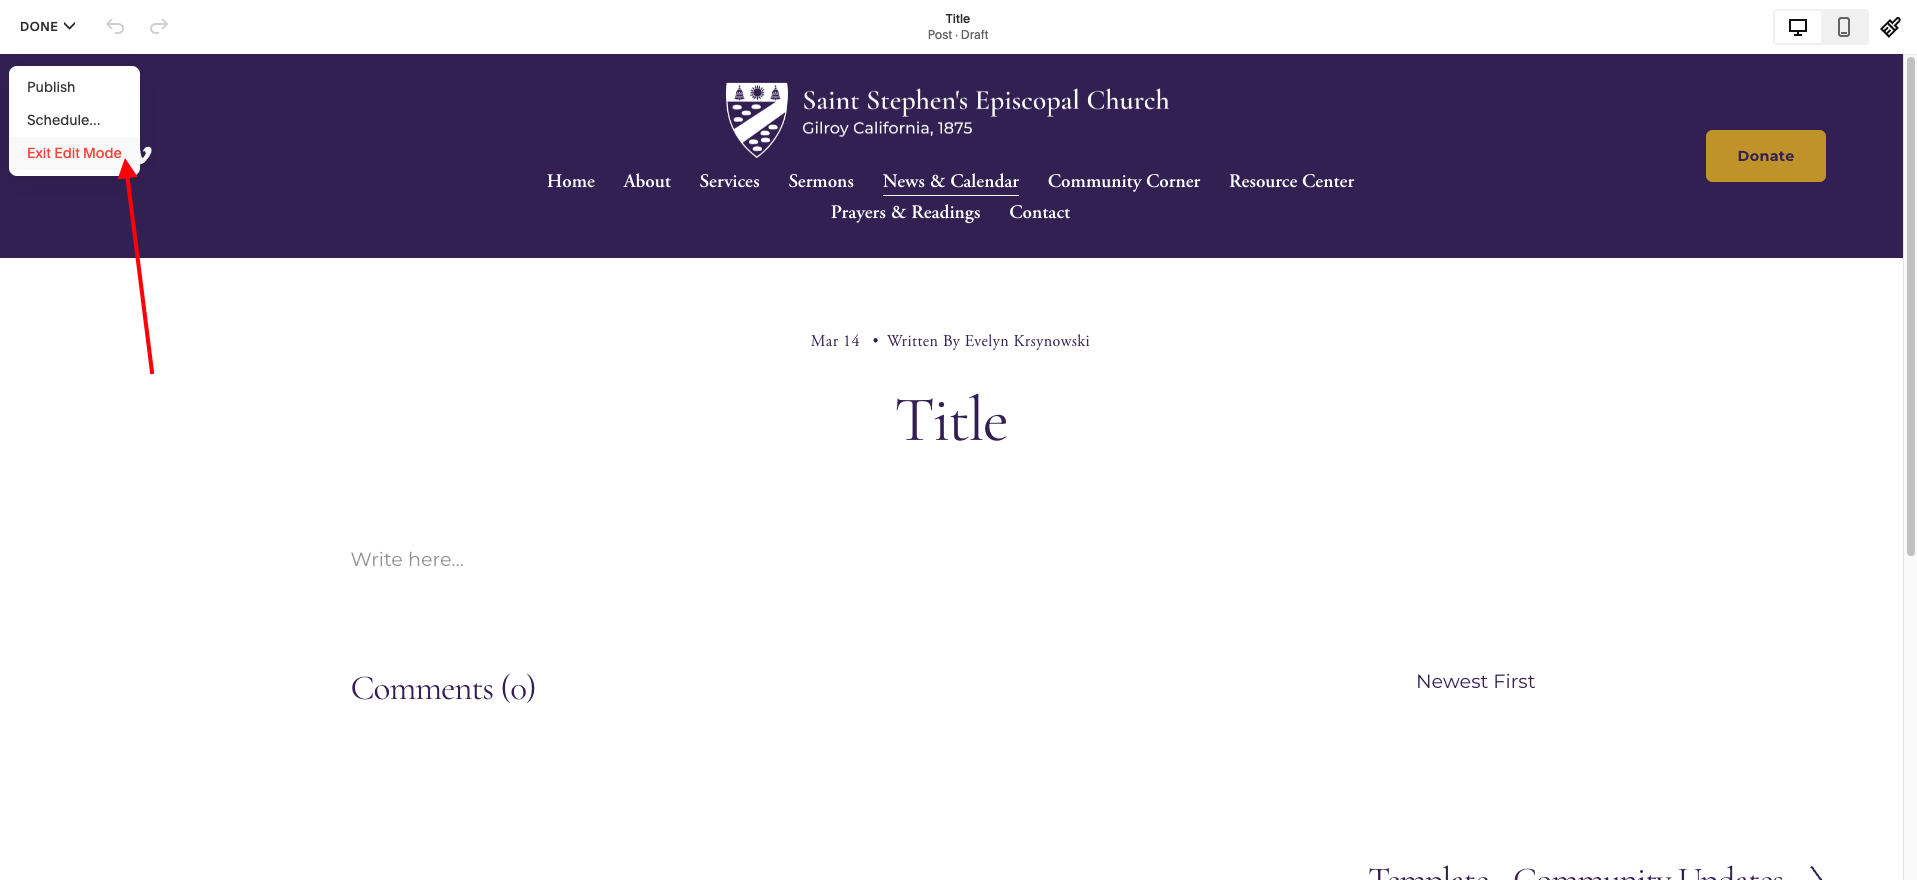
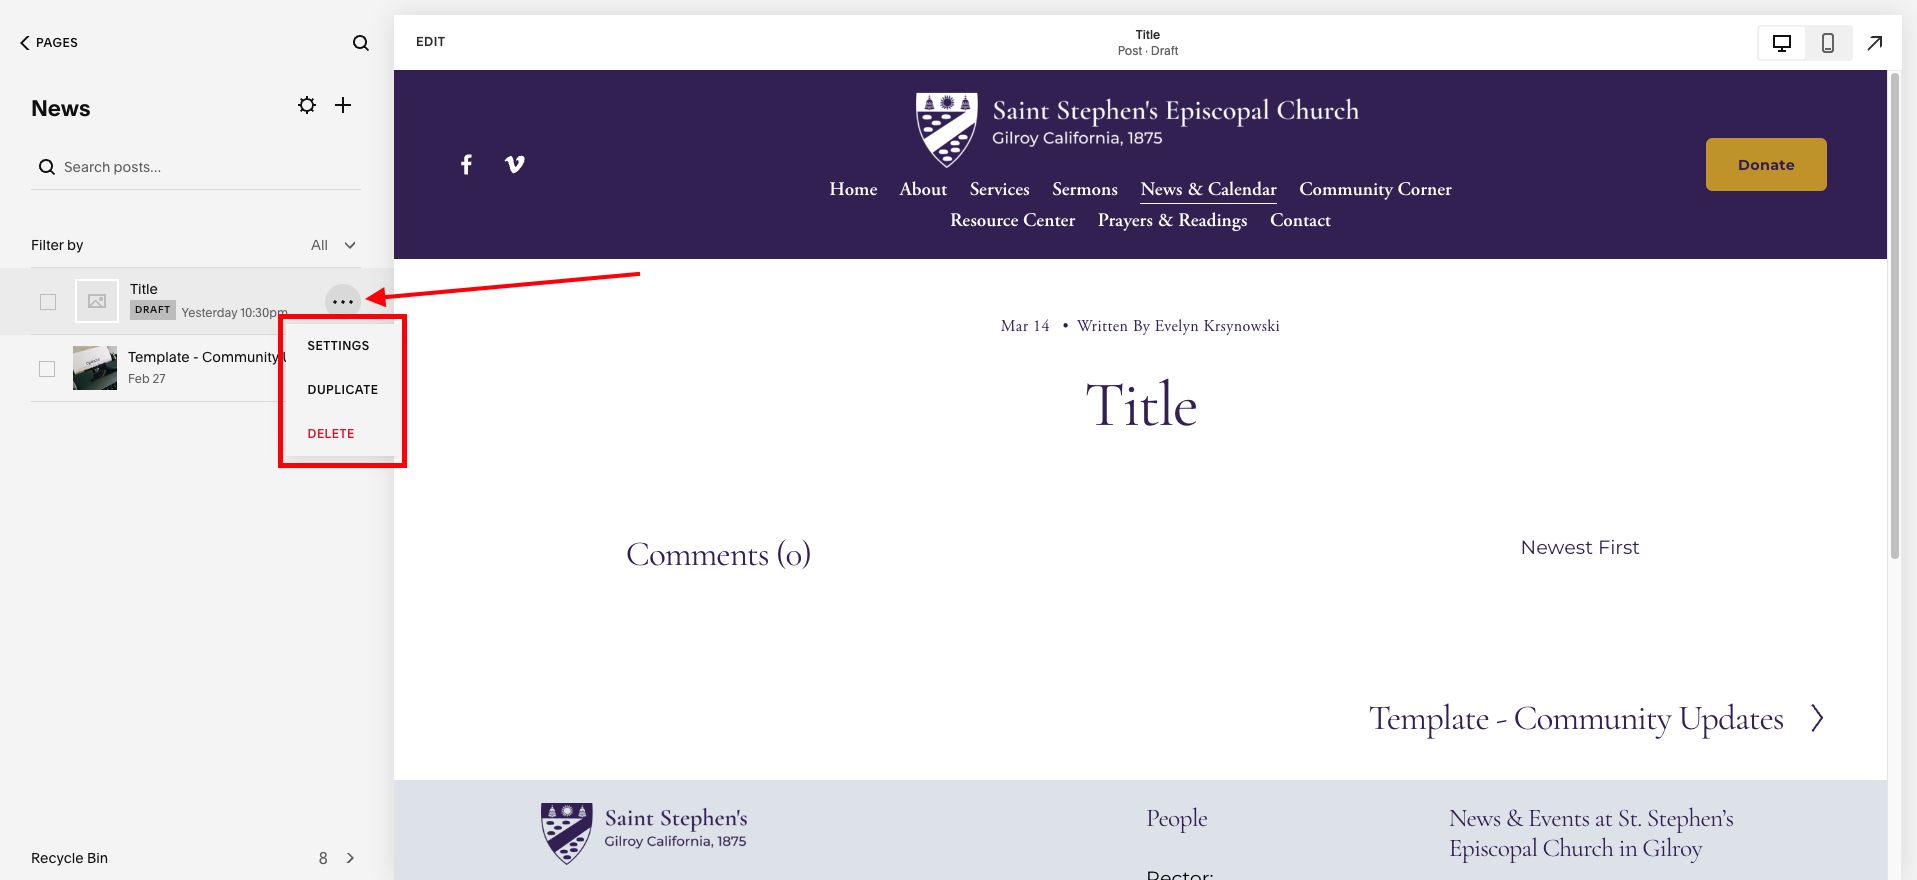
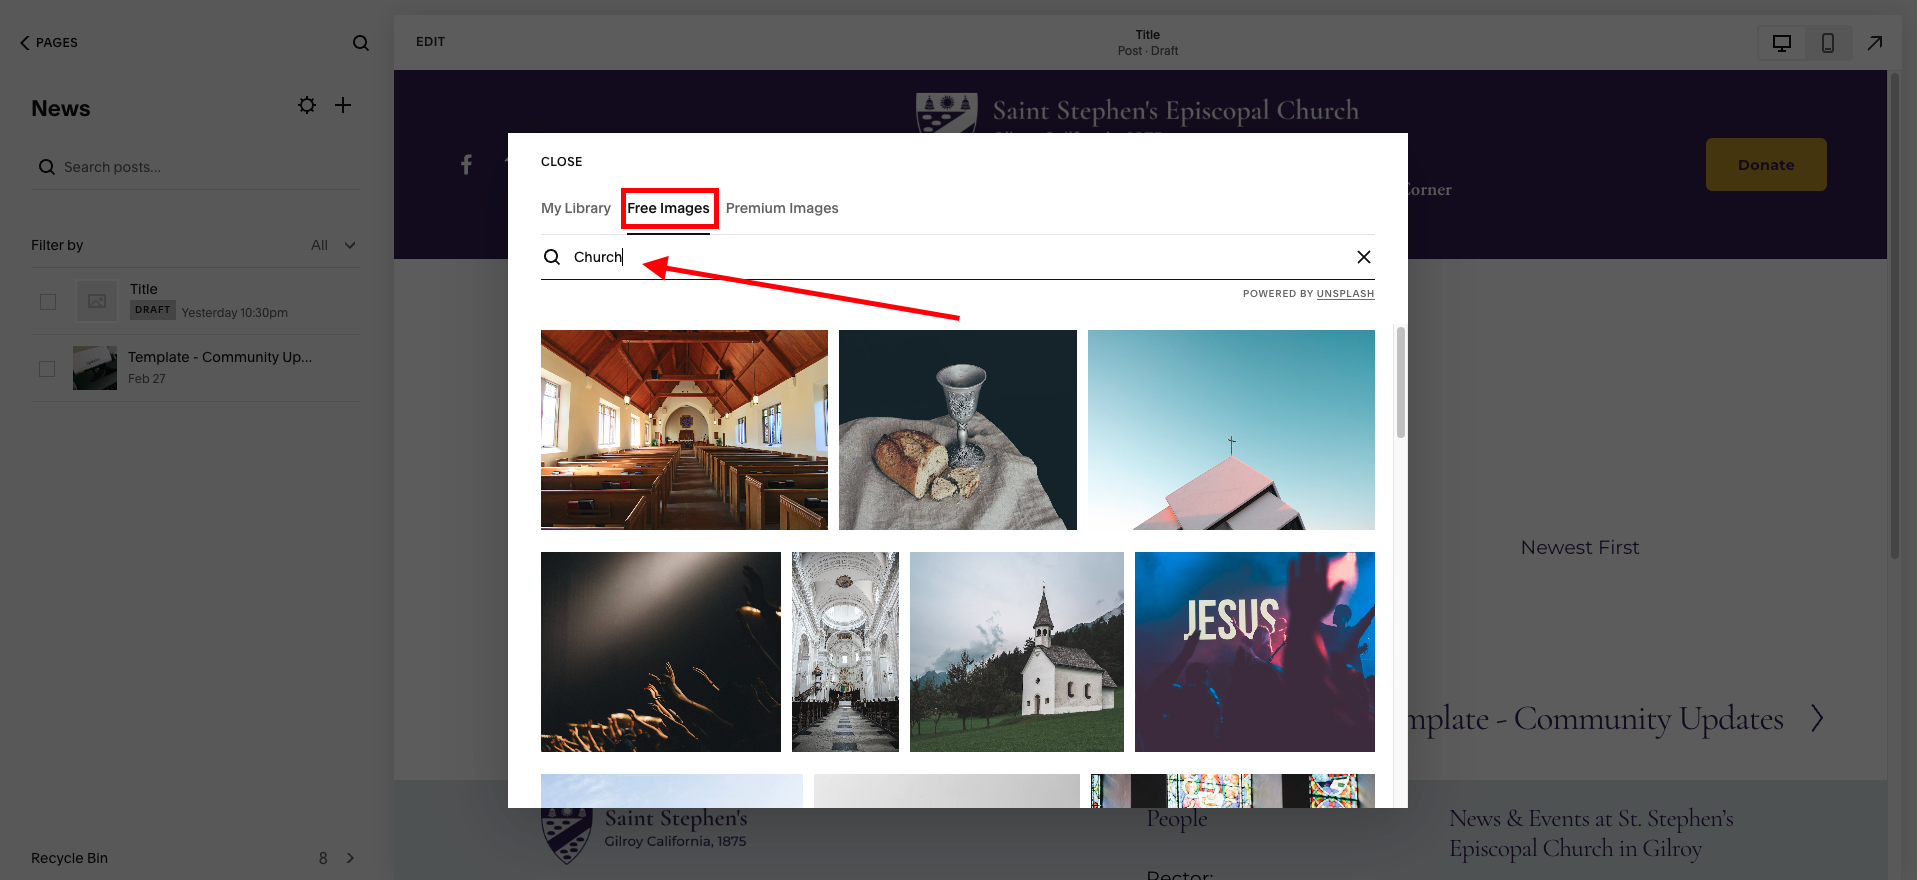
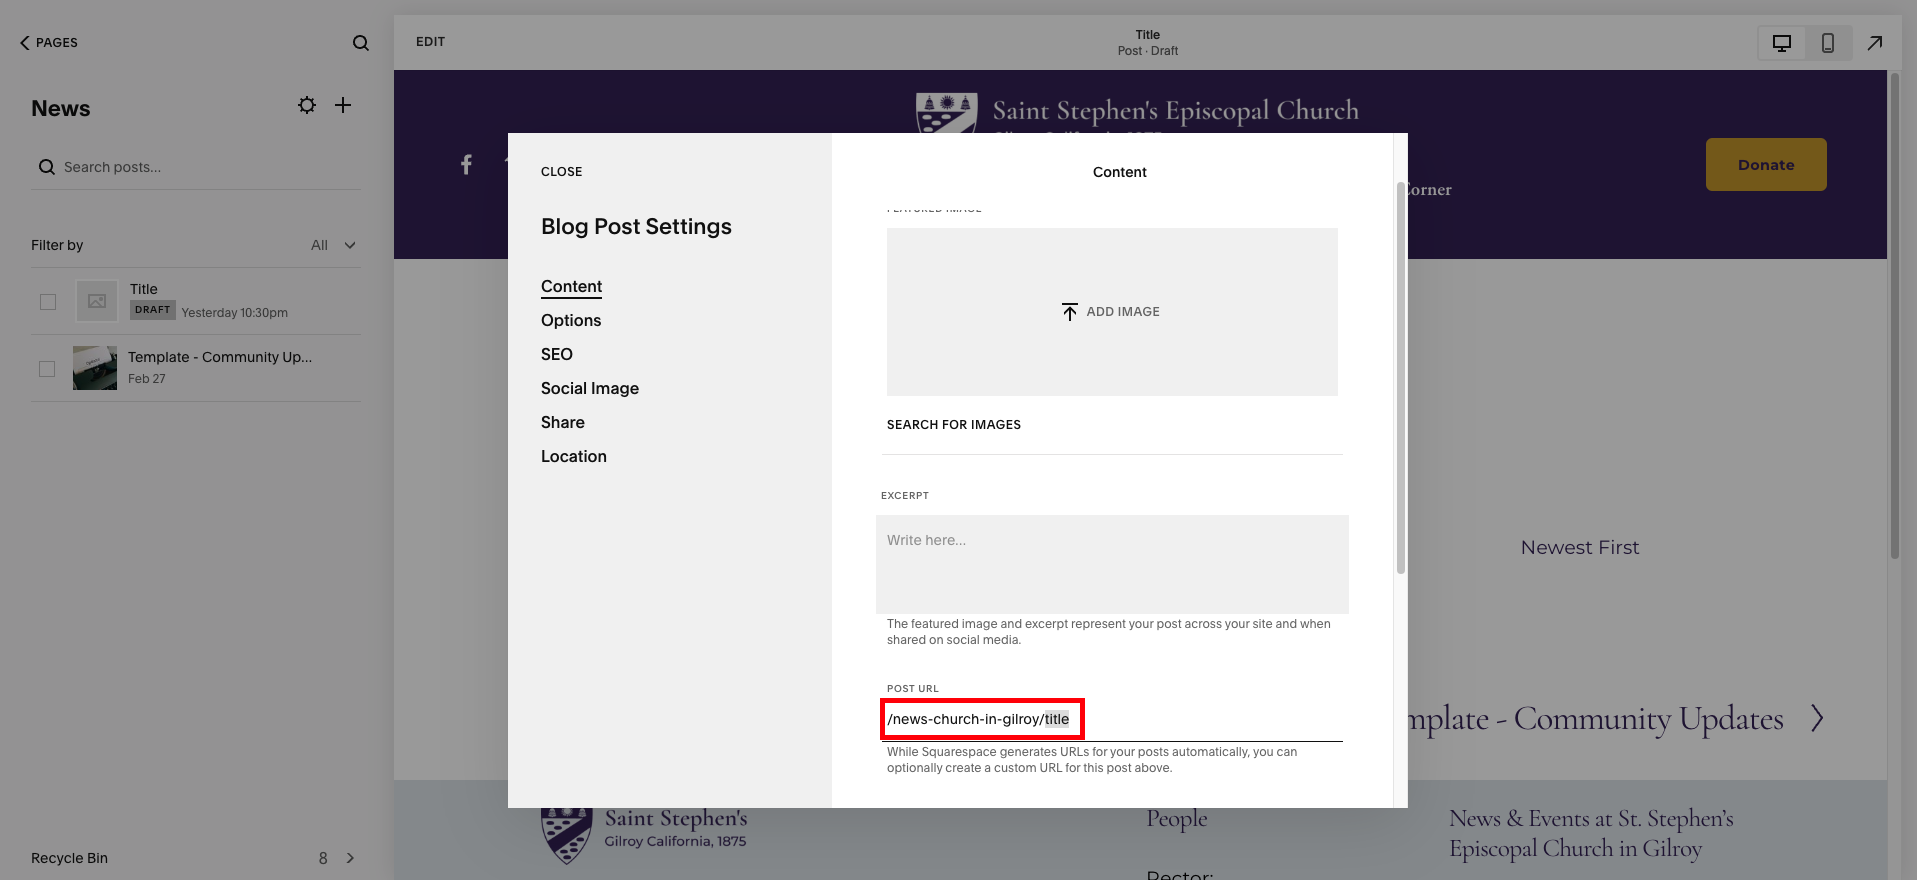
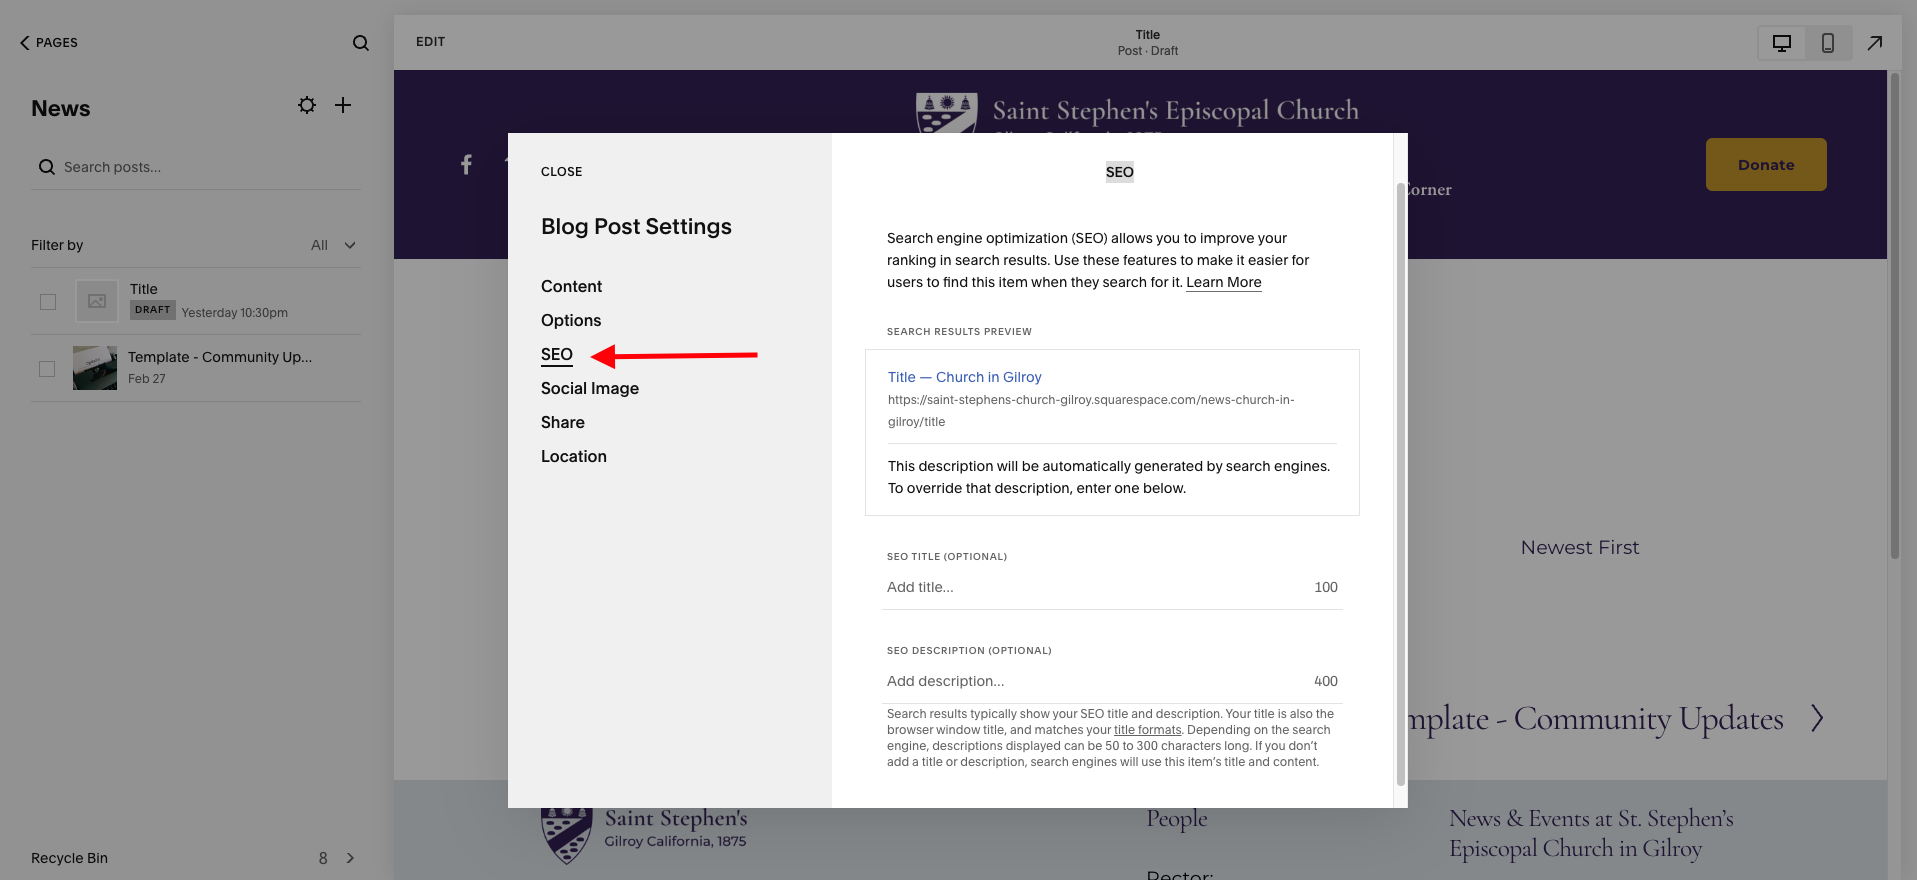
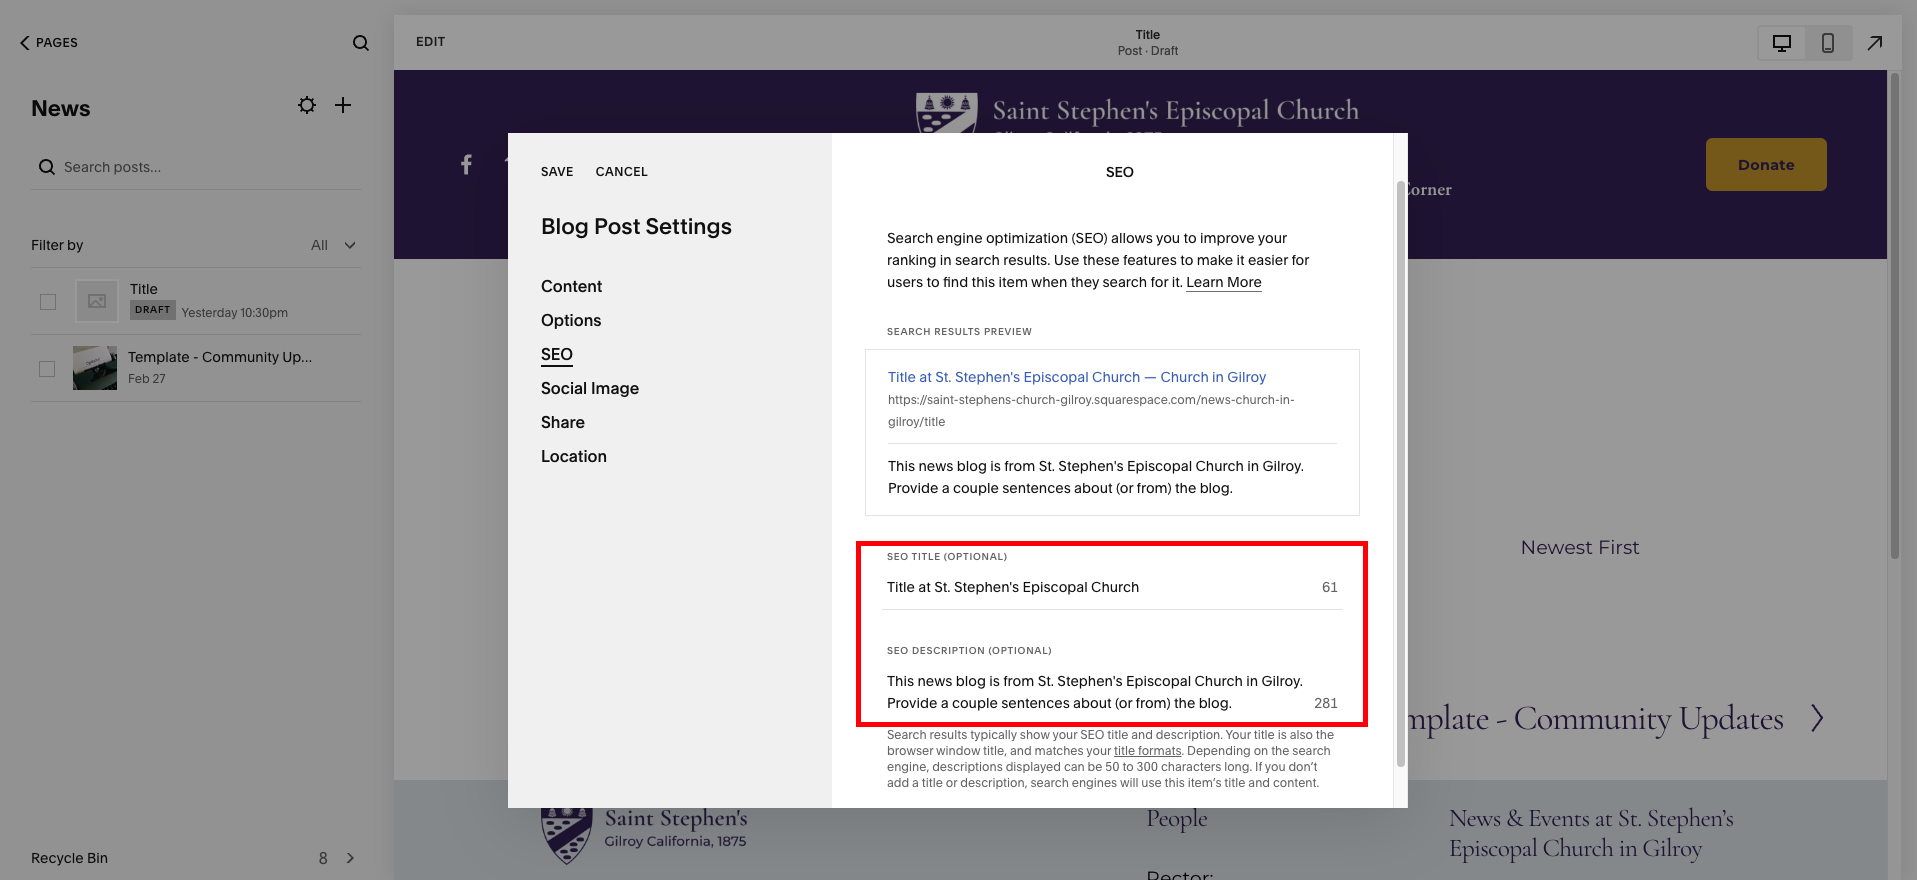
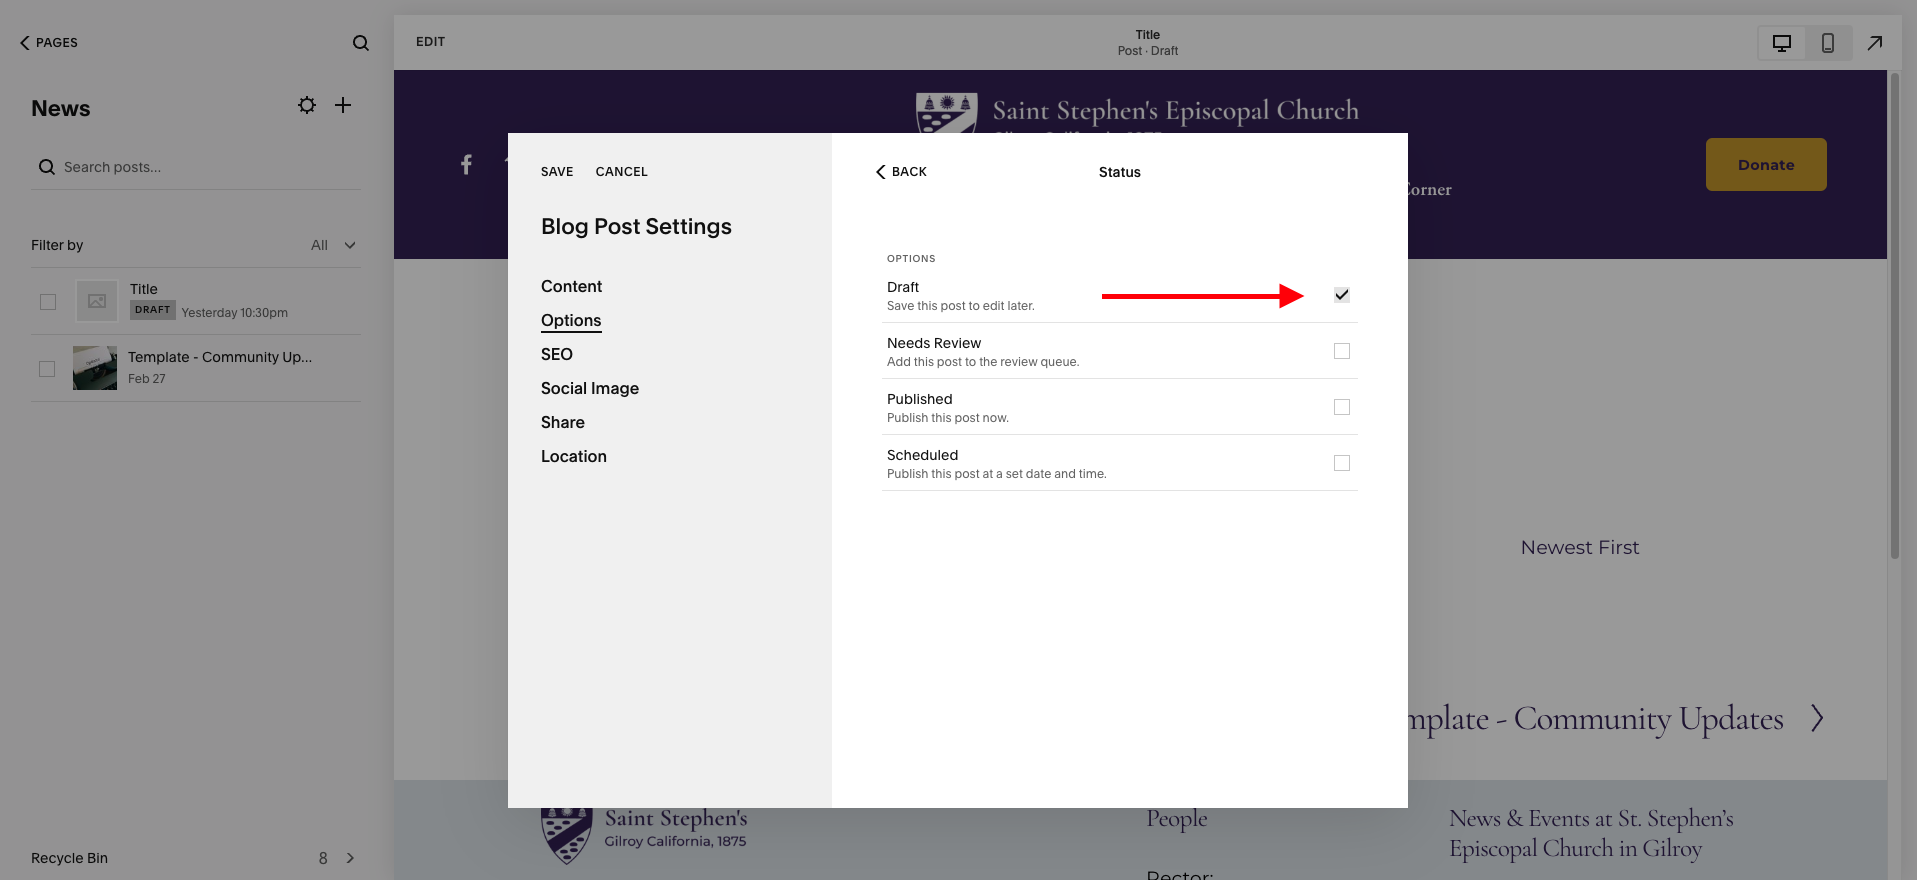
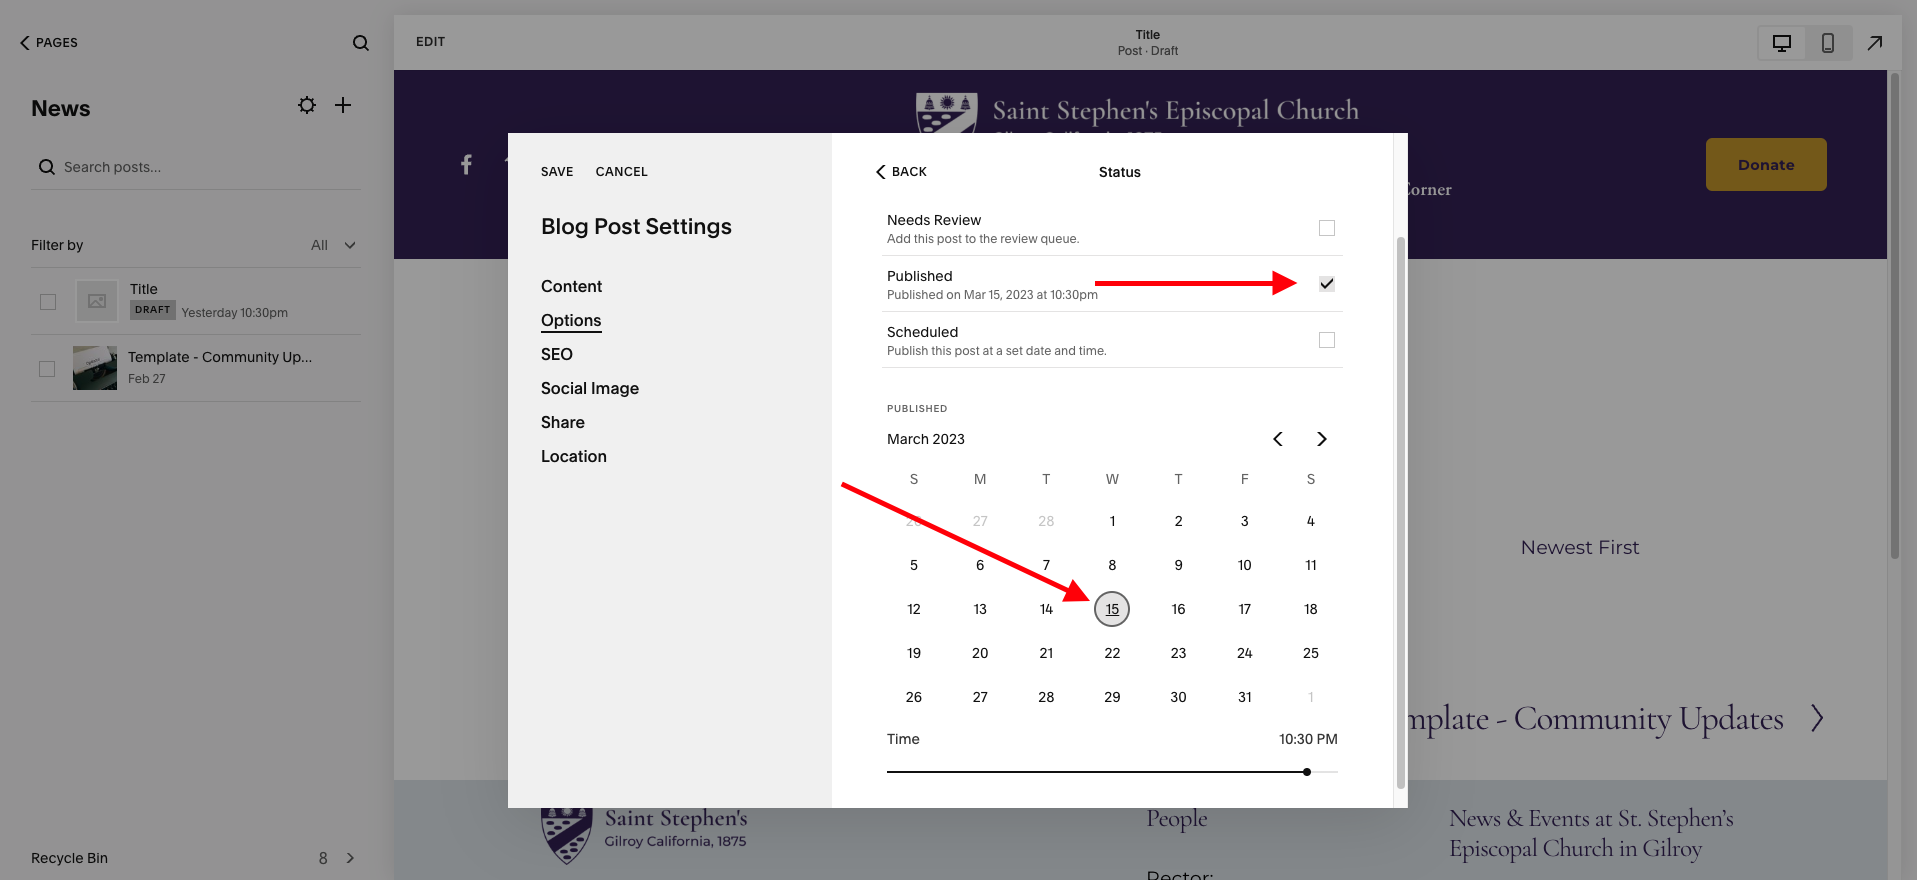
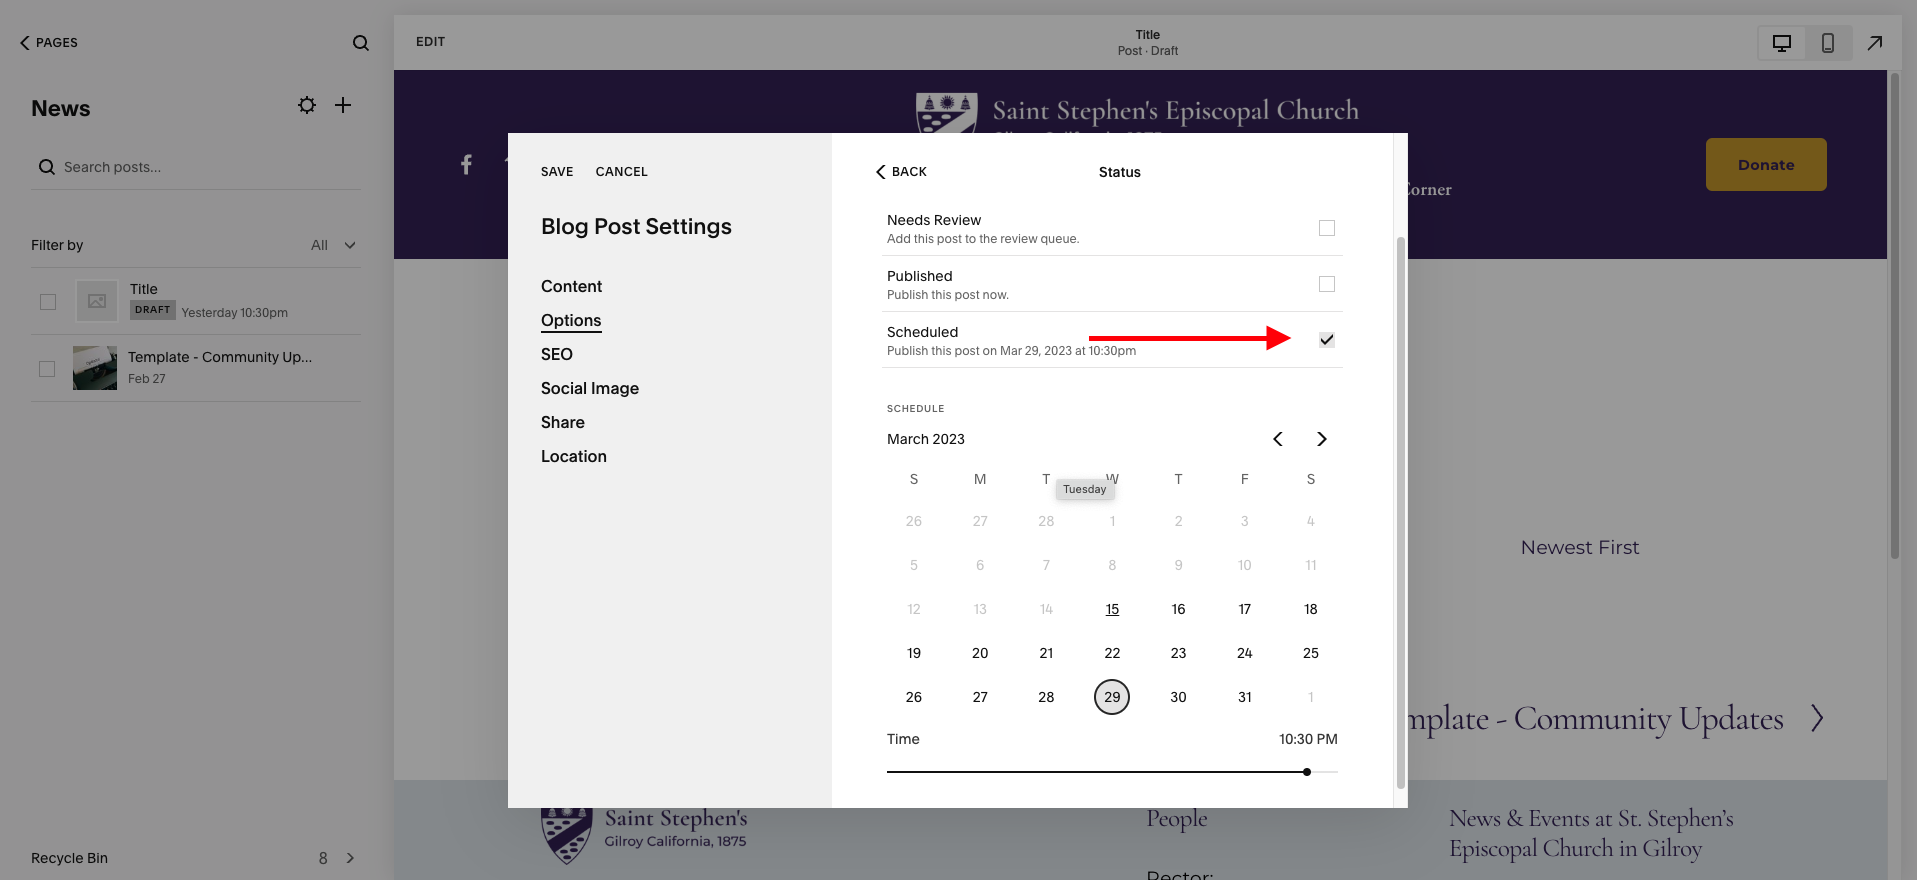
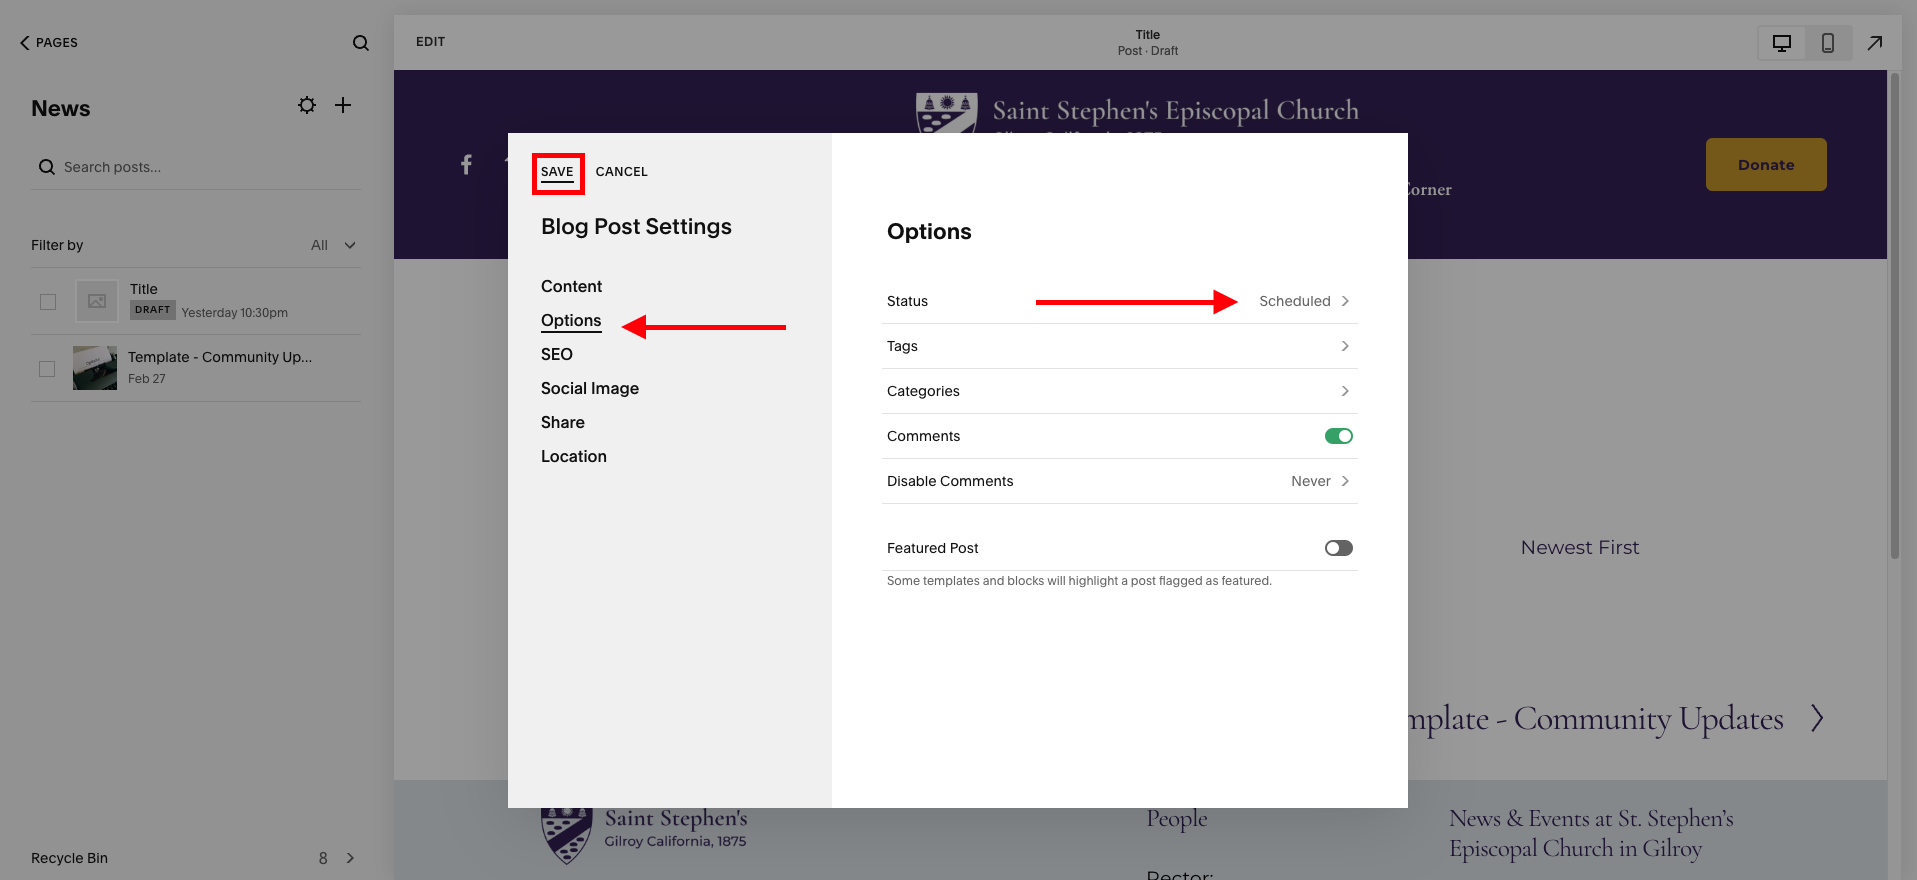
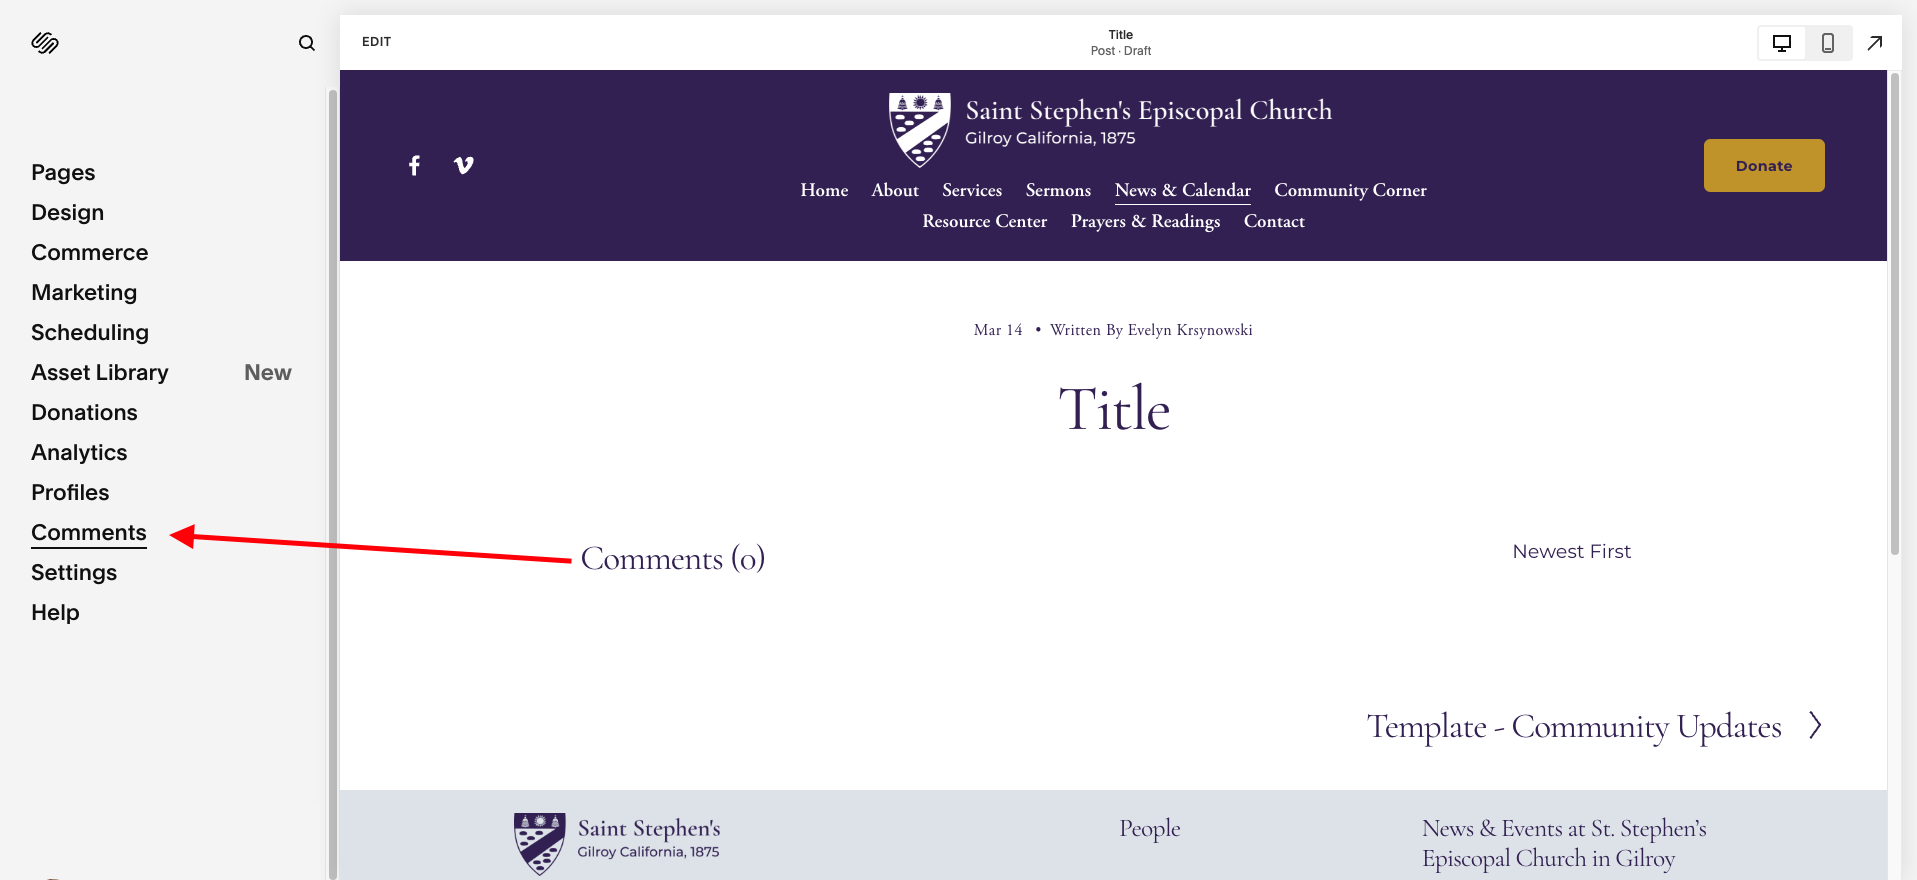
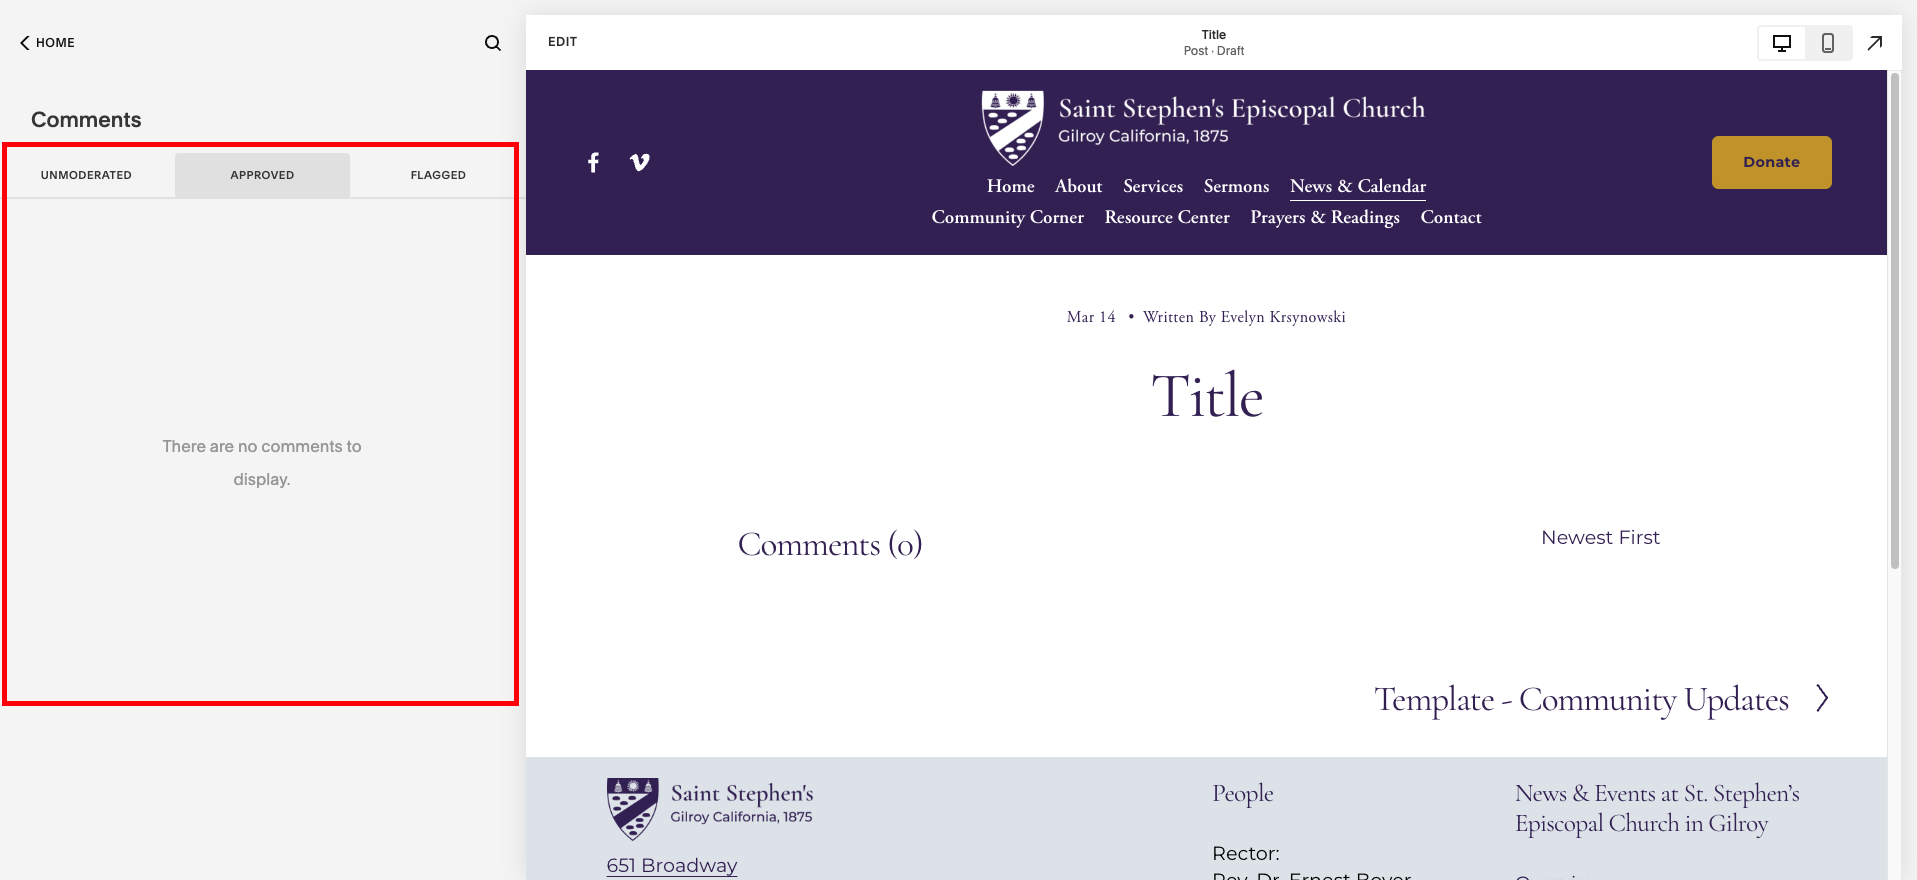
Below is a step by step guide on How to Publish a New Blog Entry (in an Existing Blog).
1)
In the back system, click on the “PAGES” link
2)
Anything with a Pen icon is a blog.
Go to the Blog title name in the navigation where you would like to add in a new blog entry.
Today we are going to add in a new blog entry into the News section. Click on the News Blog in the navigation.
3)
In the top right corner of the navigation bar, you will find a + sign button. Click on the + sign icon to add in a new blog.
(You will also see a wheel button at the top. This holds the overall settings for the entire blog including SEO (search engine optimization) information. After you plug in the relevant information once, nothing needs to be changed here on a regular basis.)
4)
All of your blog posts live here and will be listed by date in this navigation area.
They can be filtered by All, Draft, Scheduled, or Published.
5)
Once you press the + sign button, a new blog entry will open.
Press the ‘EDIT’ button in the upper left corner of the webpage screen.
Give the blog a title name and add in any text that you would like to be included in your blog.
6)
If you would like to add in an image, button, or other special function, click on the small + button that shows up in the middle of the section when you hover over the section.
You can move the individual boxes around and place them where-ever you would like on your blog page.
7)
If you ever make a mistake and move a section you did not wish to move or complete a change that you decided against, you can always click on the ‘UNDO ARROW’ located at the top left side of the screen.
Make sure you DO NOT save any changes if you do not wish to complete the changes that you attempted. Then the page will revert back to what it was before any attempted changes came about.
8)
Once you have completed any changes desired, click on the ‘DONE’ button in the upper left corner and choose the ‘SAVE’ drop down menu option.
If you want to add or take out anything in your blog post before publishing, click the ‘EDIT’ button in the top left corner of the post and change things around as you see fit.
(Remember to save your work before exiting edit mode)
9)
If you are in edit mode and you end up not changing anything, click on the ‘DONE’ button in the upper left corner and choose the ‘EXIT EDIT MODE’ drop down menu option to get back to the main navigation options.
10)
Once you are back to the navigation mode, you will see that your new blog is set as ‘DRAFT’.
Click on the ‘…’ button and choose the ‘SETTINGS’ option in the drop down options.
11)
It is important to go through and fill out some information in each of the ‘BLOG POST SETTINGS’ options.
CONTENT section: If you choose to ‘ADD IMAGE’ you can find a file on your computer and attach it.
You can also click on the ‘SEARCH FOR IMAGES’ link and choose a photo from your photos already uploaded in ‘MY LIBRARY’
12)
OR you can choose ‘FREE IMAGES’ and search for an unsplash image that you can use for free on your website.
13)
Make sure the ‘POST URL’ is not too long and that it mentions the title of your blog post (no special characters and no uppercase possible).
What you add in here will be the ending in the link that you would share with friends and family to bring them directly to your blog.
14)
SEO section: SEO stands for Search Engine Optimization and refers to descriptions and language on your website that Google reads and ranks on its search engine.
15)
It is good to type in a SEO title and a SEO description using keywords that will catch the attention of potential viewers as they will be able to read this description before clicking.
16)
Options Section:
Go to ‘STATUS’ and click on the arrow to the right. You will be taken to a variety of options including Draft, Needs Review, Published, and Scheduled.
17)
When you are ready to publish your blog, click on the arrow to the right. A calendar will pop up and you want to make sure that it will be published on today’s date.
18)
If you choose to publish this blog on a day in the future, then you must click on the button ‘SCHEDULED’ and choose the date and time that you want it to be published.
19)
Once you press ‘SAVE’ in the upper left corner, all changes will be saved and your blog will be officially published or scheduled.
20)
To check the comments, go to ‘COMMENTS’ in the left side navigation menu.
21)
All comments will be displayed here.